Overview
In this guide we will go through the steps of installation and configuration of “OpenSSH Server”. In order to connect to the Ubuntu host remotely and manage the server, openssh-server package has installed and configured to accept connection.By default only SSH client is installed to connect to a remote server (minimal install). If the server is installed with full features enabled, then OpenSSH-server package is installed and enabled.
Applies To
Ubuntu 14.x, tested on Ubuntu 14.04 (minimal install).Pre-requisites
- Internet connection to fetch and install packages.
- DHCP or static IP Address enabled or assigned host.
- System Update.
- sudo or root access to the host.
Update System
First thing that you have to ensure that the system is updated with current patches installed. If the patches are not installed, run the command;apt-get -y update
Pre-Install – Check Installation Status
Before you install the package, check if the package is already installed on the server, run the command;dpkg-query -l openssh*
or
dpkg-query -W --showformat='${Package}\t ${Status}\n' openssh-s*

Install Package
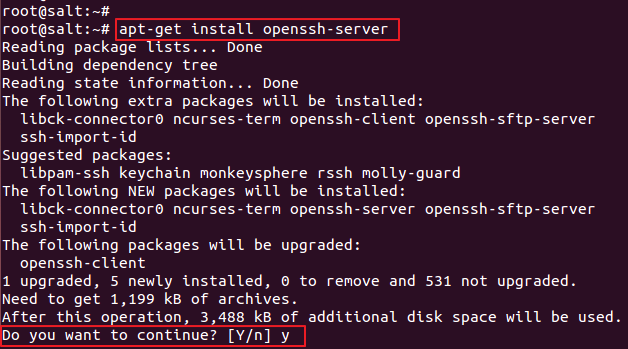
If the package is not installed, next step is to install package “openssh-server”, to install the package run the command;apt-get install openssh-server
Post-Install – Verify Installation Status
After installation of the package, we can optionally, validate if the package is installed, to check package “openssh-server” installation status, run the command;dpkg-query -l openssh-server
dpkg-query -W --showformat='${Package}\t ${Status}\n' openssh-s*

Post-Install - Listen Port
Before you start the ssh daemon, you need configure ssh service open the configuration file and uncomment the port configuration. By default its disabled to listen on any port.gedit /etc/ssh/ssh_config

Modify port attribute, which will enable service and service will to listen on port “22” which is also default port for ssh service as below;
Port 22

This attribute can be an configured to non-default port “22”, if you intend to change the default port of ssh service listening, for example un-comment and set attribute value as “Port 12345”.
After the service restart, this modification will cause ssh service to listen on port 12345 and to connect from a remote host run command you have to explicitly specify port attribute value “ssh -P 12345 hostname”.
Post-Install – Start Daemon – SSH
After configuring the service, next thing is to start ssh service (start the daemon), run the command;/etc/init.d/ssh start

Post-Install – Service Self-Test
Also, you could do a self-test SSH connectivity of hostname to ensure service is accessible from localhost as well as external network, if needed, to do a self-test run the command;telnet `hostname` 22
Post-Install – Service Listening Status
To check if the service is listening, you can also validate it by running the below command; if the “Local Address:Port” displays “*:22” then the service will accept connections from anywhere.sudo ss -lnp | grep -E ':22' | grep 'sshd'

Self-Test Login to localhost (self)
To test ssh connection for the server, run the command.ssh -v localhost or ssh localhost

Configure Firewall – Open SSH Connection
In case your firewall is configured to blocked SSH connection, to allow firewall to ssh connection, run the command;ufw allow ssh

Configure Firewall – Restart Service
Optionally, you can restart firewall service, run the command;service ufw restart

No comments:
Post a Comment